Fallen flower.. L-plater trying new things
Hello all - nothing too exciting here, sorry, and I'm afraid this will be rather boring for you advanced sorts. 
I ran this shot off quickly last night using my 50mm f/1.4 and thought I'd use it for a little project, and was humbly hoping someone clever could run a quick eye over what I've done and lend some critique on my photo and processes.
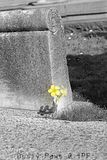
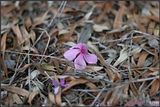
A friend's shot of a flower with the background desaturated [via Picasa] looked like a fun thing to try, so I thought I'd work out how to achieve a similar look on my ancient Photoshop CS edition. I've no training to speak of so basically set it as an 'assignment' for myself and bumbled my way through. Because I'm still such a learner I hope you lot won't mind if I write up what I did so that I can learn from any tips if possible. My friend's shot is below; alongside is my original:
 ...
... 
First I touched contrast, upping by 20. Next I upped overall saturation by 10%.
Then I used magic wand to select the flower head only. This took a number of selections variously using the 'add selection' and 'subtract selection' options whilst diddling tolerance, but I got there in the end with the entire flower selected and lastly smoothed edges of the selection.
Once the selection was made I couldn't for the life of me find out how to exclude that region whilst I desaturated the rest. After trolling the menu's I found instead that I could save the selection, so did that and crossed fingers that it would mean what I hoped it would mean, hahaha!
So selection saved I deselected it, and next desaturated the photo entirely. This was too harsh so I undid that and instead reduced saturation by 70%.
Now I went to 'load selection' and hey presto, my flower head selection returned in full sparkly glory! I upped saturation of that selection by 70%, and that was it.
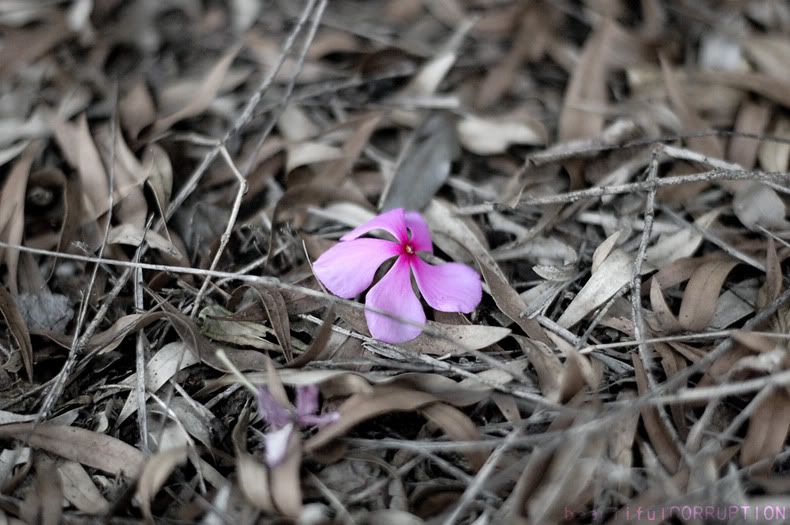
Here's the finished pic - the shot itself was just a quickie, and I'd perhaps look at cropping a touch next, but comments on it and my process would be muchly appreciated:

I ran this shot off quickly last night using my 50mm f/1.4 and thought I'd use it for a little project, and was humbly hoping someone clever could run a quick eye over what I've done and lend some critique on my photo and processes.
A friend's shot of a flower with the background desaturated [via Picasa] looked like a fun thing to try, so I thought I'd work out how to achieve a similar look on my ancient Photoshop CS edition. I've no training to speak of so basically set it as an 'assignment' for myself and bumbled my way through. Because I'm still such a learner I hope you lot won't mind if I write up what I did so that I can learn from any tips if possible. My friend's shot is below; alongside is my original:
 ...
... 
First I touched contrast, upping by 20. Next I upped overall saturation by 10%.
Then I used magic wand to select the flower head only. This took a number of selections variously using the 'add selection' and 'subtract selection' options whilst diddling tolerance, but I got there in the end with the entire flower selected and lastly smoothed edges of the selection.
Once the selection was made I couldn't for the life of me find out how to exclude that region whilst I desaturated the rest. After trolling the menu's I found instead that I could save the selection, so did that and crossed fingers that it would mean what I hoped it would mean, hahaha!
So selection saved I deselected it, and next desaturated the photo entirely. This was too harsh so I undid that and instead reduced saturation by 70%.
Now I went to 'load selection' and hey presto, my flower head selection returned in full sparkly glory! I upped saturation of that selection by 70%, and that was it.
Here's the finished pic - the shot itself was just a quickie, and I'd perhaps look at cropping a touch next, but comments on it and my process would be muchly appreciated:

 with Dave and Greg.
