Experimenting with Light: Softbox Portraits...
I'd really appreciate some critique and feedback from those much more knowledgable with off camera/studio lighting than I.
Some time ago I ordered a softbox designed for portable speedlights (as opposed to large studio strobes) for the princely sum of $35. This sounds insanely cheap and surely you couldn't expect too much for something that costs less than a good meal for one. The softbox I have packs up into quite a small bag but once unfolded becomes a 24 inch by 24 inch (60x60cm) square softbox and included is the speedring and ballhead with cold shoe bracket for the flash - everything you need to then simply attach to the top of a lightstand.
I hadn't used it all that much so I've been getting it out lately experimenting with a few things and have produced quite a few images that I've been quite happy with and in most cases they look good (at least to me ) straight out of camera with little post processing required. For now I'm just trying to limit the variables to a single strobe before attempting multiple lights, etc.
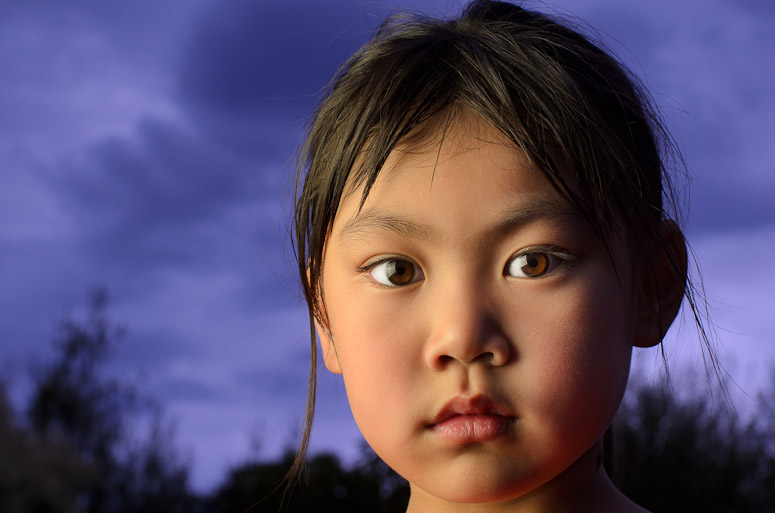
My first attempt was on Boxing Day when our neighbours came over, it was late afternoon so I setup a lightstand with softbox in the back yard and put my Sigma 50/1.4 on. The sky had these nice chunky clouds and I wanted them both to have this deep ominous colour so I coloured the flash with a clip on yellow tint diffuser to colour the light and since the coloured light would only fall on my subject when I corrected the final image for the strong yellow tint the white balance would hopefully shift dramatically blue/purple.
I had my subjects (the kids) stand on a chair so I could shoot more up at them so I could have more sky in the background (this isn't ideal for a good pose but I was playing more with the gel effect than anything else). I shot at sync speed (1/250th) to start with to massively underexpose ambient and make the colours I get darker, deeper and richer.
Here is one I was very happy with - this is almost straight out of camera with the major change being the white balance correction for the subject.
A week later and my daughter had a friend stay over so...
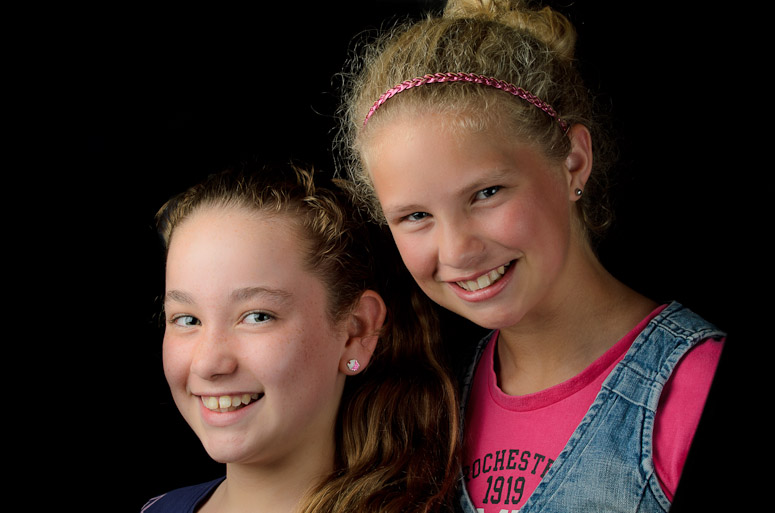
In this first it's daytime so I've setup the softbox in a room with a darkish wall about 3 metres behind. I shot with the 70-200 f/2.8 and shot at f/9 and sync speed (1/250th) this time to try and really kill all ambient and go to black. The softbox is close to the left and slightly above the subjects and on the right is a silver tri-grip reflector quite close (which you can see because she is holding it herself ) for a bit of fill.
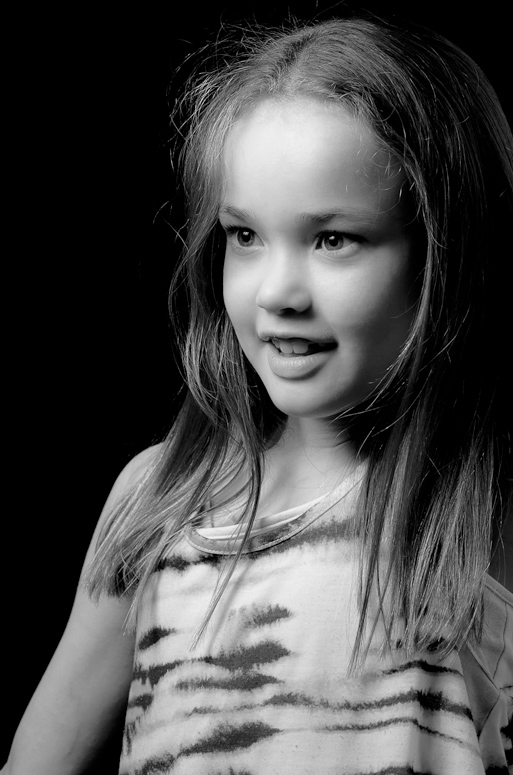
That evening I setup the lightstand in a room with an open door to outside with a clear view to the sky (my background). It was later this time with sunset coming soon - I gelled the SB900 again but this time with those little gel things which come with the flash - a full cut of orange and set my camera to Tungsten white balance to compensate. Again with the 70-200, one of my middle daughter, softbox close on the left and slightly above subject with a single SB900, no reflector, etc
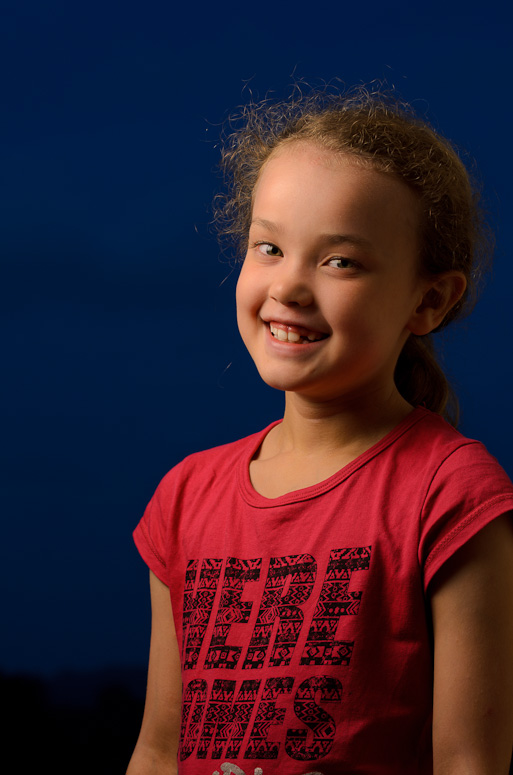
Another day and my eldest two daughters had their haircut so they decided it was OK to pose for a few shots and allowed me to setup my lightstand, softbox and flash. For this shoot I decided to try out the Tamron 90mm f/2.8 macro lens as a portrait lens. Again I gelled the SB900 with a full cut of orange and set the camera to Tungsten white balance. It was just on sunset so the sky was still a bit light and there were puffy pink clouds in the sky. I was hoping again to have the sky go a deep blue because of the white balance shift but I'd left it too late. Shot again with us all in a room standing inside in front of an open door to outside.
I tried shooting at a slowish shutter speed (1/60) and a wideish aperture to try and drag in some ambient but it really wasn't enough - a shot of my eldest daughter.

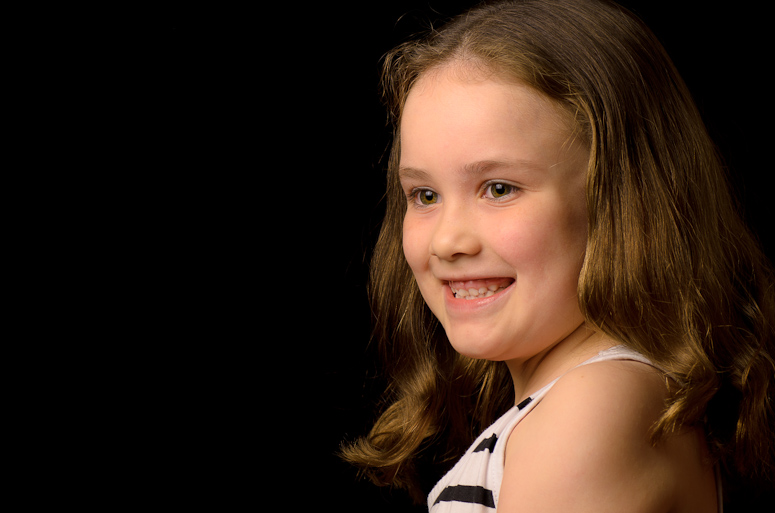
After that I decided to just kill ambient by shooting at sync speed (1/250th) and shot at f/8 and here are my two other daughters...
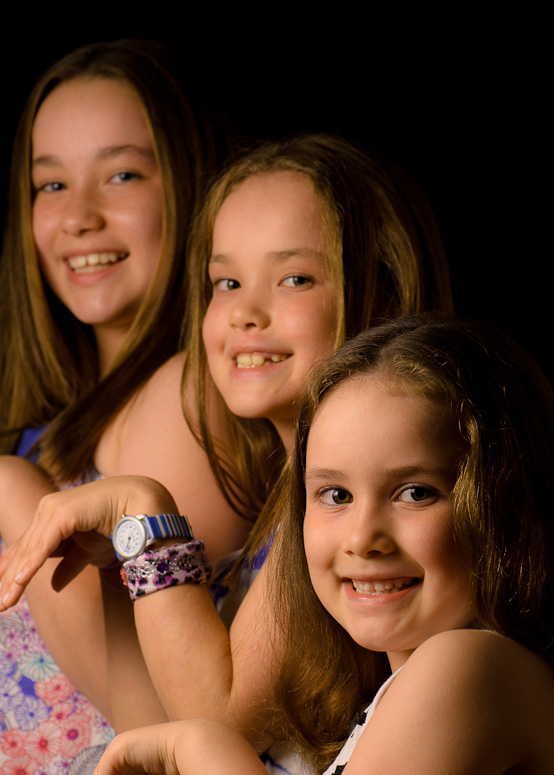
and lastly I tried a group shot with the three girls - had to move the softbox quite a way from them to fit them all in, I backed away as far as I could in the room (against the wall) and here we go. I knew I didn't have enough depth of field to get them all in and the shots I tried at f/11 weren't much better.
Mods: the post does have more than the allowed number - but they do all go together so if you feel it would be better in the Photo Journeys section?
Some time ago I ordered a softbox designed for portable speedlights (as opposed to large studio strobes) for the princely sum of $35. This sounds insanely cheap and surely you couldn't expect too much for something that costs less than a good meal for one. The softbox I have packs up into quite a small bag but once unfolded becomes a 24 inch by 24 inch (60x60cm) square softbox and included is the speedring and ballhead with cold shoe bracket for the flash - everything you need to then simply attach to the top of a lightstand.
I hadn't used it all that much so I've been getting it out lately experimenting with a few things and have produced quite a few images that I've been quite happy with and in most cases they look good (at least to me
My first attempt was on Boxing Day when our neighbours came over, it was late afternoon so I setup a lightstand with softbox in the back yard and put my Sigma 50/1.4 on. The sky had these nice chunky clouds and I wanted them both to have this deep ominous colour so I coloured the flash with a clip on yellow tint diffuser to colour the light and since the coloured light would only fall on my subject when I corrected the final image for the strong yellow tint the white balance would hopefully shift dramatically blue/purple.
I had my subjects (the kids) stand on a chair so I could shoot more up at them so I could have more sky in the background (this isn't ideal for a good pose but I was playing more with the gel effect than anything else). I shot at sync speed (1/250th) to start with to massively underexpose ambient and make the colours I get darker, deeper and richer.
Here is one I was very happy with - this is almost straight out of camera with the major change being the white balance correction for the subject.

A week later and my daughter had a friend stay over so...
In this first it's daytime so I've setup the softbox in a room with a darkish wall about 3 metres behind. I shot with the 70-200 f/2.8 and shot at f/9 and sync speed (1/250th) this time to try and really kill all ambient and go to black. The softbox is close to the left and slightly above the subjects and on the right is a silver tri-grip reflector quite close (which you can see because she is holding it herself

That evening I setup the lightstand in a room with an open door to outside with a clear view to the sky (my background). It was later this time with sunset coming soon - I gelled the SB900 again but this time with those little gel things which come with the flash - a full cut of orange and set my camera to Tungsten white balance to compensate. Again with the 70-200, one of my middle daughter, softbox close on the left and slightly above subject with a single SB900, no reflector, etc

Another day and my eldest two daughters had their haircut so they decided it was OK to pose for a few shots and allowed me to setup my lightstand, softbox and flash. For this shoot I decided to try out the Tamron 90mm f/2.8 macro lens as a portrait lens. Again I gelled the SB900 with a full cut of orange and set the camera to Tungsten white balance. It was just on sunset so the sky was still a bit light and there were puffy pink clouds in the sky. I was hoping again to have the sky go a deep blue because of the white balance shift but I'd left it too late. Shot again with us all in a room standing inside in front of an open door to outside.
I tried shooting at a slowish shutter speed (1/60) and a wideish aperture to try and drag in some ambient but it really wasn't enough - a shot of my eldest daughter.

After that I decided to just kill ambient by shooting at sync speed (1/250th) and shot at f/8 and here are my two other daughters...


and lastly I tried a group shot with the three girls - had to move the softbox quite a way from them to fit them all in, I backed away as far as I could in the room (against the wall) and here we go. I knew I didn't have enough depth of field to get them all in and the shots I tried at f/11 weren't much better.

Mods: the post does have more than the allowed number - but they do all go together so if you feel it would be better in the Photo Journeys section?
