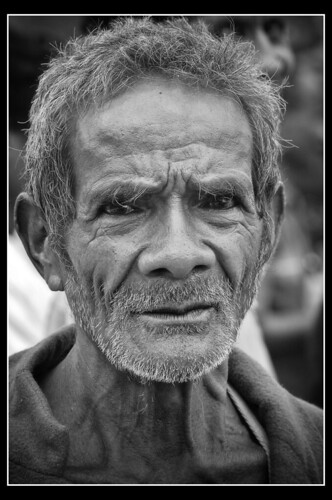
Thought some of you might enjoy this technique for some pretty nice black and white conversions.
You might want to make a copy of your layer first just so you can delete it if you don’t like it. (control + J)
1. Ensure that you have got black selected as your foreground colour.
2. Choose gradient map at the create new adjustment layer Pop up menu
3. Once you have got the Gradient map dialog click directly below the centre of the gradient, this will give you a black stop and your photo will turn pretty dark.
4. If you now double click onto the stop you just created the Colour picker box will appear
5. From here you want to select a grey scale by moving the colour picker right over to the left hand side of the box. (By dragging it up or down you will be able to select the best grey scale)
6. Once you are happy with the conversion just select ok on the colour picker.
7. now there is one more thing you can do from here if you select the stop you created underneath the gradient map in the still open gradient editor dialog and slide it left or right you will be able to change the conversion ever so slightly (You will have to let go of the mouse button though to see the change)
I hope you this will help you a little and I didn’t completely confuse you.
By the way I am not smart enough to figure this stuff out by myself I have got it out of Scott Kelby’s Photoshop book for CS3.


